User's Guide
Project Web Special Features
While the editor for project web pages generally works the same as the editor elsewhere on the platform, allowing you to insert formatted text, pictures, online videos, and links, there are a couple of special features that only work on project web pages.
Inserting Files
You can insert project files into web pages. These appear as an icon with the file’s title, which downloads the file when clicked.

To insert a file, you can’t upload it directly to the page—it needs to be uploaded to the Files section of a project first. (But you can insert a file from any project, not just the one that the current page belongs to).
Click the “Insert File” icon in the editor toolbar, which has the icon of a piece of paper:
This will open the “Insert File” dialog:
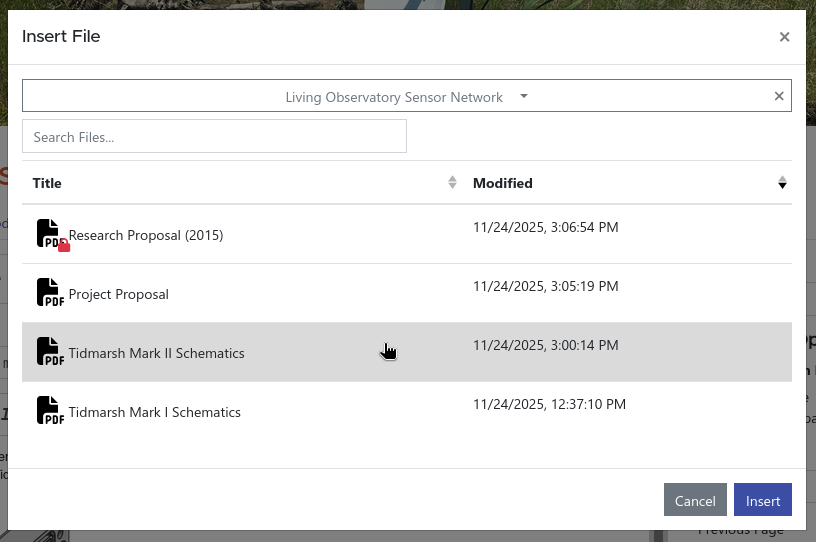
The dialog box starts by showing files from the current project. If you want to insert a file from a different project, you can click on the project title at the top of the dialog and search for a different one.
The files for the selected project are shown in a table. If the project has many files, there might be several pages to navigate through. You can sort the files by clicking on the column headers. You can also search for a file by name by typing in the search box.
Once you have located the file you want to insert, click on it to highlight it and then click the Insert button.
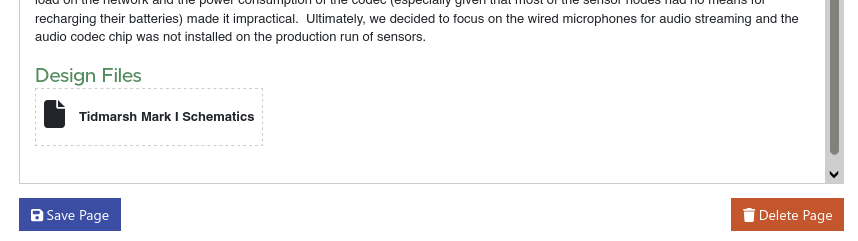
The file is inserted into the editor with a dashed outline. Once you save the page and are viewing it normally, the link will become clickable and the dashed outline goes away.
Note: Project files can be designated as “private”, which means that only members of the project under which they are uploaded can access the file. You can insert a private file into a non-private page or a page from a different project. If a visitor has the required permissions, they will be able to click on and download the file normally. If they don’t, they will receive a “Permission Denied” error when they click on the file.
Visitors will see the names of private files when they appear on a page even if they don’t have access. If the name of a file contains sensitive information, you should not insert it into a public web page.
Inserting a Dynamic Table of Contents
If your project web has many pages, you might want to include a partial table of contents that helps readers navigate. For example, you might have a set of pages that describe a laboratory assignment, with a top level page that introduces the assignment and several subpages that describe the steps of a procedure. It would be useful to include a table of contents on the introduction page that links to the subpages.
In the editor, click the “Insert Table of Contents” icon:
This brings up the Insert Table of Contents dialog:
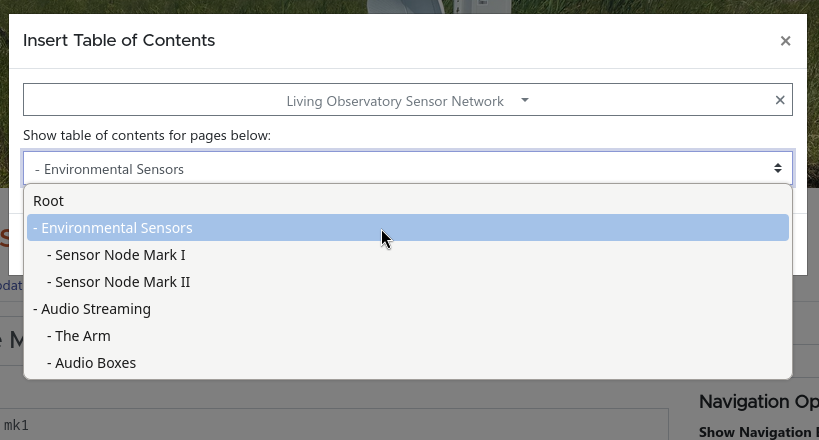
Like the Insert File dialog, it defaults to showing pages from the current proejct, but you can select a different project at the top of the window if you want.
The project’s pages are listed in the menu below. When the table of contents is inserted, it will include the pages below the selected entry. In the example here, selecting “Audio Streaming” will result in a table of contents with two entries, “The Arm” and “Audio Boxes”. If you want to insert the project’s full table of contents, select the “Root” entry. Note that if you select a page that doesn’t have any subpages, the resulting table of contents will be empty.
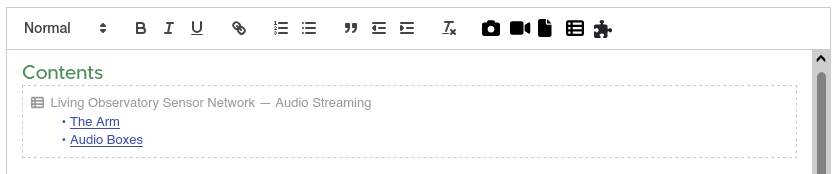
When the table of contents is inserted into the editor, it will show a dashed line around the border and the links are not clickable. Once the page is saved and you view it normally, the links activate and the dashed line disappears. The editor also shows the name of the project and page that the table of contents is sourced from for your reference, but this won’t be visible when readers view your page. If you want a heading on your table of contents, insert it as a normal header in the editor (as has been done with the “Contents” heading in the figure above).
When you insert a table of contents this way, it is dynamic. This means that if additional pages are added to the parent page, they will automatically appear in the table of contents. Any private or draft pages will also be automatically shown or hidden depending on whether the visitor has access perimssions.